


What Lies Beneath the Concrete Slab
By Dan Marks | 03/12/20
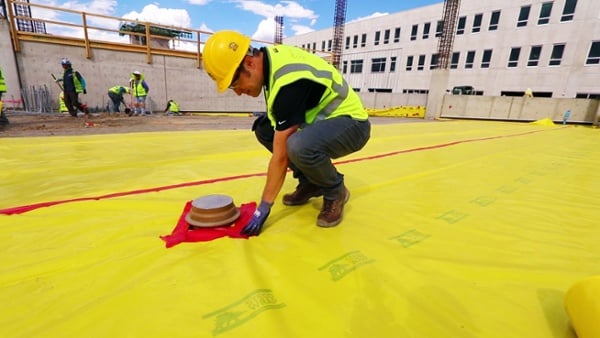
Your concrete slab foundation, and what lies beneath it, is your foundation to success. When preparing the substructure of your concrete slab, there is prep work you can do to ensure long-term success.